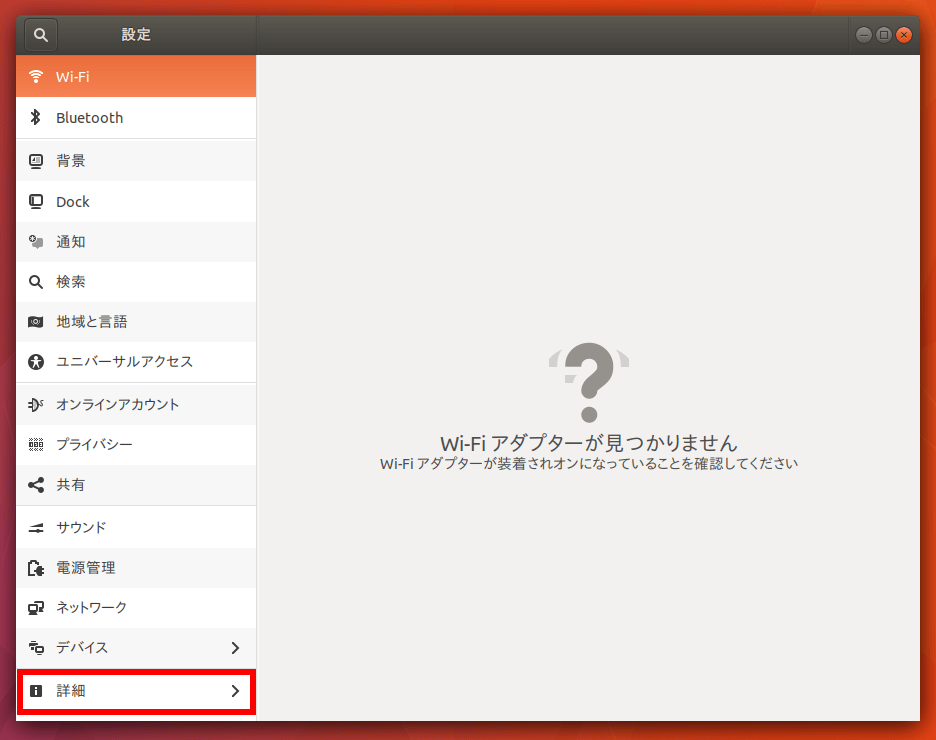
Ubuntu 17.10で自動ログインを行うには、まず「設定」を開きます。
「詳細」をクリックします。
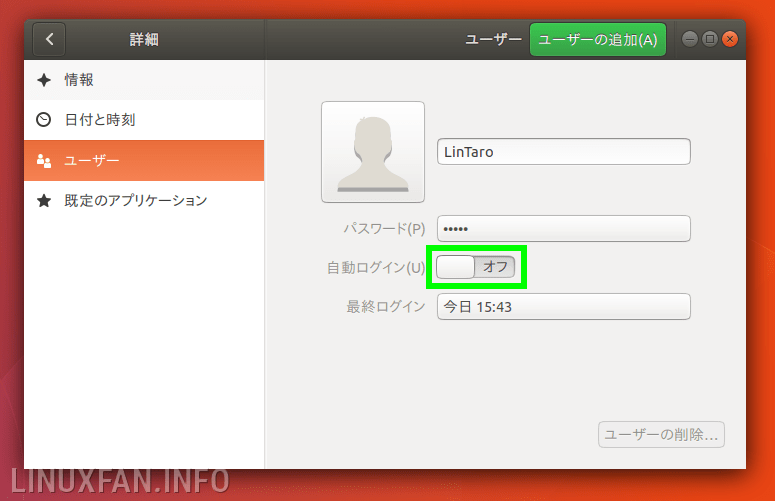
「ユーザー」を選び、「ロック解除」をクリックします。パスワードの入力が求められるので、入力して認証します。
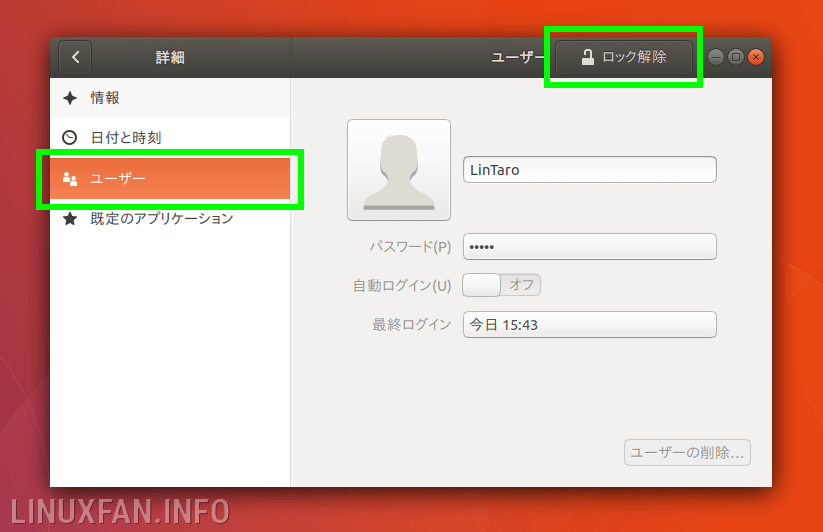
「オフ」となっている自動ログインのボタンをクリックします。
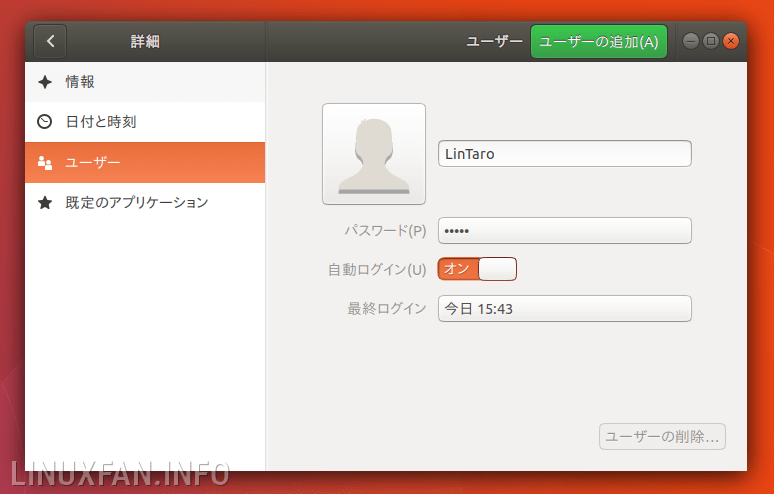
以下のように「オン」になります。これで設定完了です。
ただし、この方法でうまく設定できないという報告も見られます。
上記の設定を行っても自動ログインできない場合、「/etc/gdm3/custom.conf」の「[daemon]」セクションに以下の行を追加します。
AutomaticLoginEnable = true
AutomaticLogin = 自動ログインするユーザー名root権限が必要なので、「sudo vi /etc/gdm3/custom.conf」や「sudo nano /etc/gdm3/custom.conf」などのコマンドで編集しましょう。
以下は、ユーザー「lintaro」で自動ログインする場合の「/etc/gdm3/custom.conf」です。
# GDM configuration storage
#
# See /usr/share/gdm/gdm.schemas for a list of available options.

[daemon]
# Uncoment the line below to force the login screen to use Xorg
#WaylandEnable=false

# Enabling automatic login
#  AutomaticLoginEnable = true
#  AutomaticLogin = user1

# Enabling timed login
#  TimedLoginEnable = true
#  TimedLogin = user1
#  TimedLoginDelay = 10

AutomaticLoginEnable=True
AutomaticLogin=lintaro

[security]

[xdmcp]

[chooser]

[debug]
# Uncomment the line below to turn on debugging
# More verbose logs
# Additionally lets the X server dump core if it crashes
#Enable=true
コメント